Setting up Onedrive to sync with Sharepoint
Estimated Reading Time:
< 1 min
Setting up OneDrive to Sync with SharePoint
Firstly open up the OneDrive App on your PC, if you do not have this then please download from here:
https://www.microsoft.com/en-gb/microsoft-365/onedrive/download
Now with OneDrive open if you have an existing account synced you can right click on the App and select settings
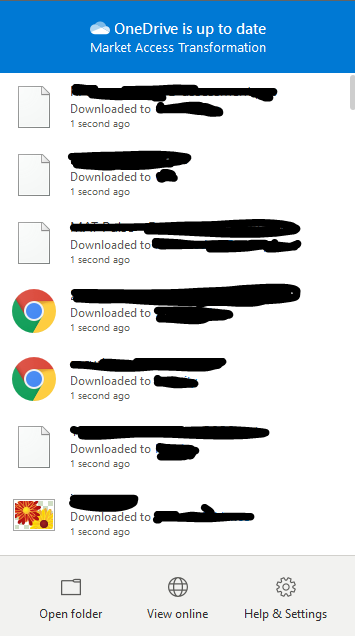

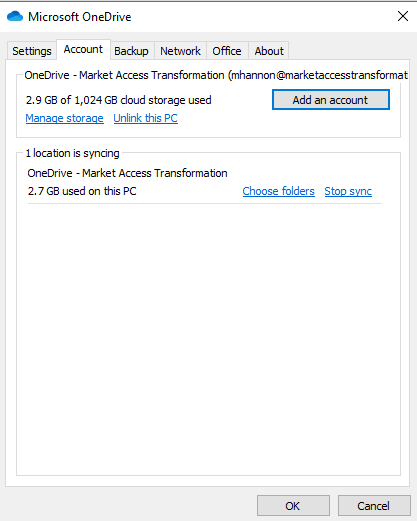
If you are currently syncing the old OneDrive account it will display inside the settings page, you will need to click on “Stop Sync” and then “Unlink this PC” to remove.
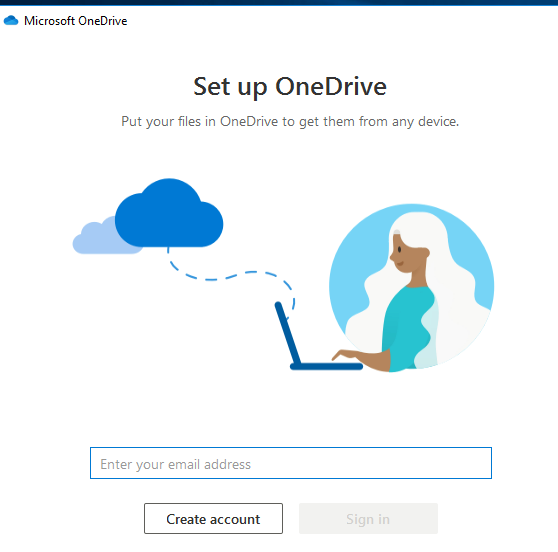
You will now be presented with a login screen where you will use your normal email address and password to sign into your new OneDrive account.
Once you have signed into the OneDrive account you now need to add the SharePoint account to sync to the OneDrive App, to do this you now need to sign into the following website on your PC.
Portal.office.com
You will sign in with your email address and password and if asked this is a work or business account, do not select personal as this is incorrect and will not sign in.
Now signed into the Office 365 page you will now need to click on this next link
You will then see the list of SharePoint Folders:
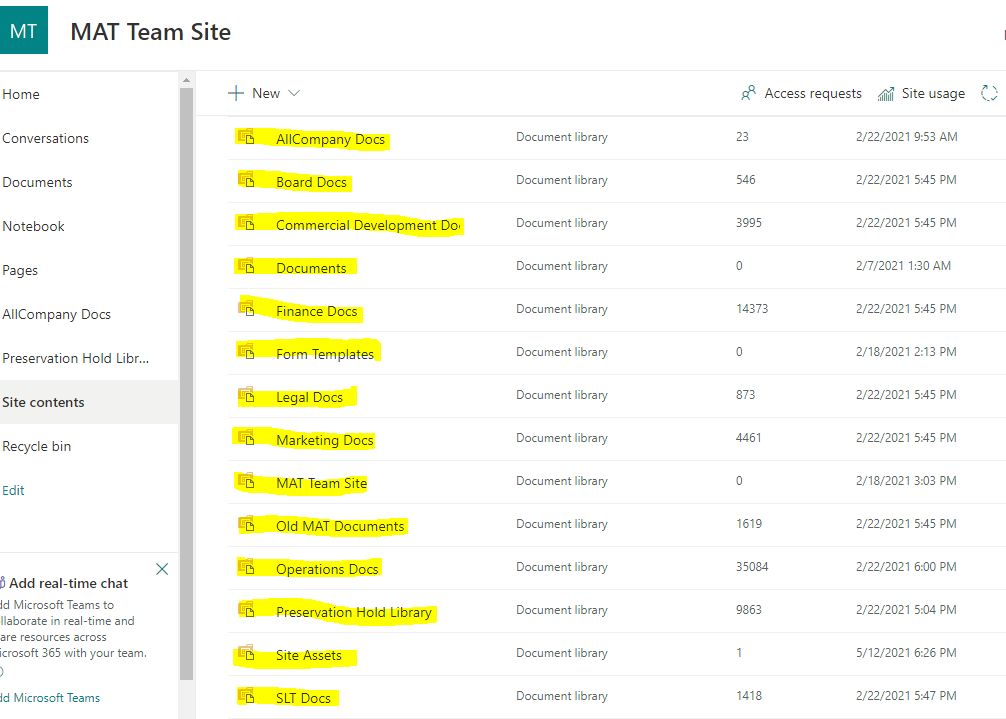
You now need to click on whichever folder you want to sync an example would be “Operations Docs”
This will then take you to this URL:
You will now click on sync (highlighted in yellow)
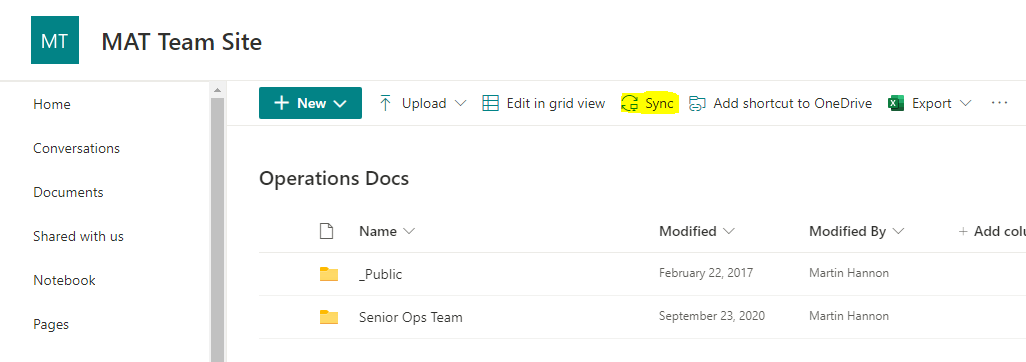
You will see the below prompt please just click on “Open Microsoft OneDrive”

This will now sync “Operations Docs” folder to you computer, please continue to repeat this action for any other folders you want to have on your device.
You will now see when you browse to File Explorer the following, SharePoint lives under Market Access Transformation and the users personal OneDrive and files live under OneDrive – Market Access Transformation.
